


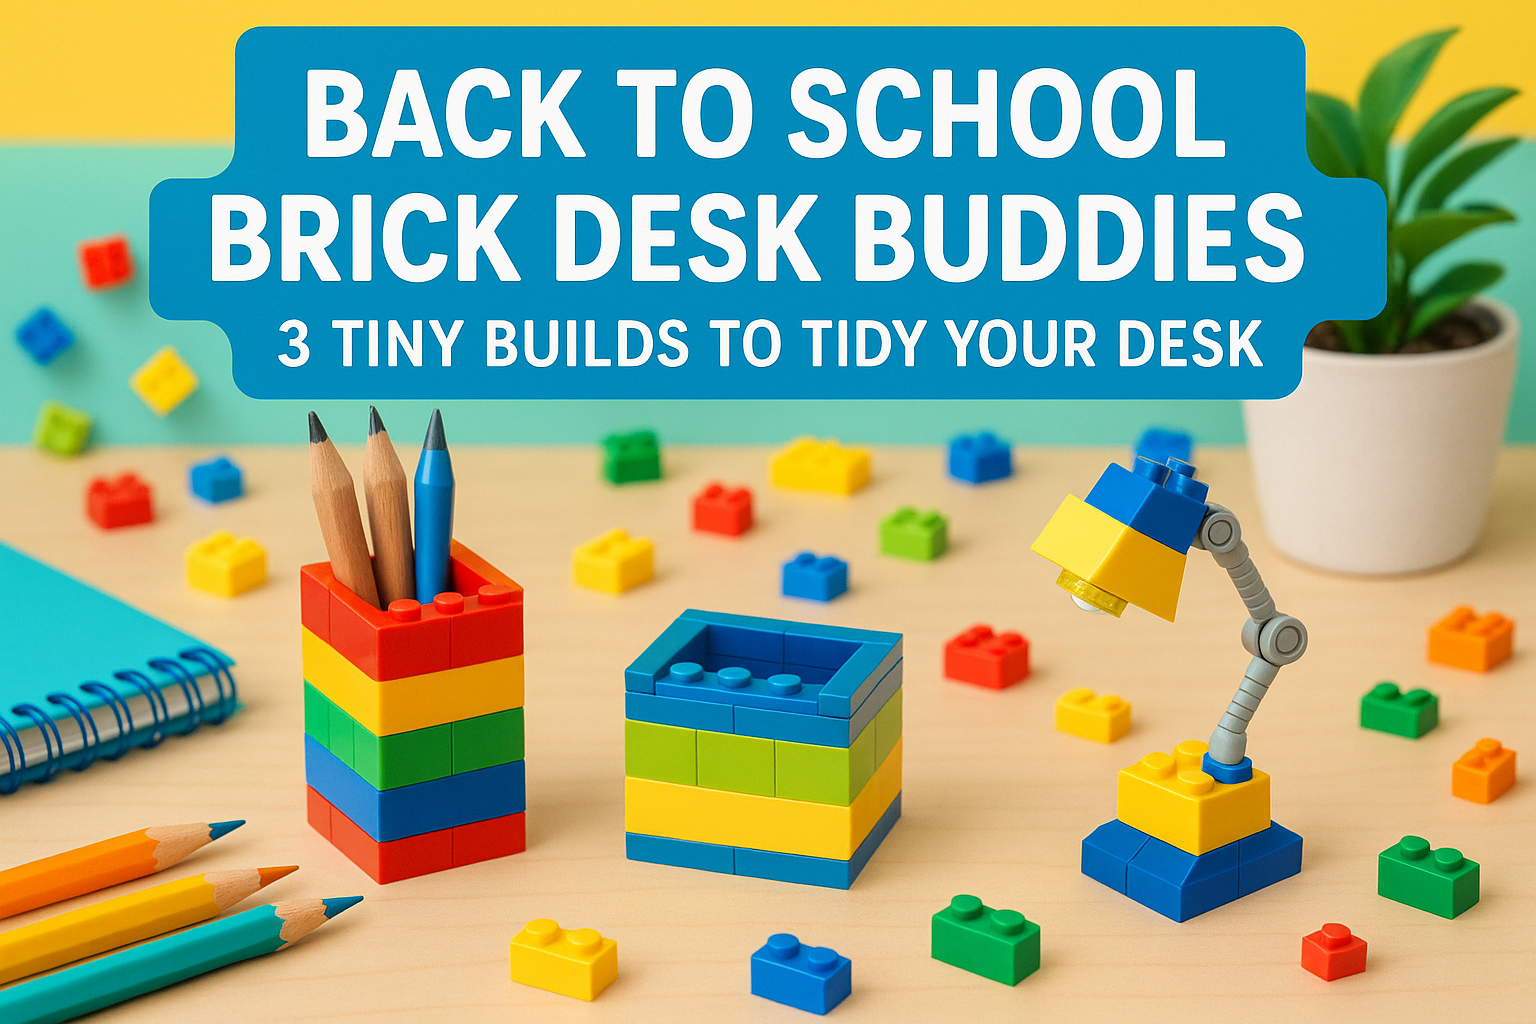
New semester, new chaos - pencils on the run, cables slithering off the edge, phone buried under sticky notes. Let’s fix that the fun way. These three LEGO compatible mini builds take minutes, cost just a few bucks in parts, and bring instant order (and personality) to your desk. Build one between classes, or batch all three in under half an hour.

What You’ll Build (at a glance)
| Build | Time | Skill | Footprint | Best for |
|---|---|---|---|---|
| Pen Cup | 10–15 min | Beginner | ~8×8 studs | Pens, markers, scissors |
| Phone Stand | 10–15 min | Beginner+ | ~10×8 studs | Video calls, quick view |
| Cable Clip | 5–8 min | Beginner | 2×6 studs | Parking a USB-C/Lightning cable |
Parts & Prep (quick)
- Basics: 1×6 & 1×8 bricks, 1×N plates, 1×2 tiles, a handful of 1×1 round tiles/plates for smooth finishes.
- Nice-to-have: hinge plates or a click hinge (for the stand), 1×1 bricks with side studs (SNOT) for badges, rubber feet or a bit of poster putty to prevent sliding.
- Surface check: Wipe your desk first so bases grip well.
Build 1: Pen Cup (stack-safe, wobble proof)

Goal: A compact cup that won’t tip when you cram in chunky markers.
Suggested parts
- Base: 1 × 8×8 plate (or two 6×6 plates overlapped)
- Walls: ~30 × 2×2 bricks (or mix in 1×2s)
- Rim: 12–16 × 1×2 tiles
- Optional badge: 4–8 × 1×1 SNOT bricks + small tiles in brand colors
Steps
- Base – Stack two plates or reinforce the 8×8 with cross-bracing plates for stiffness.
- Walls – Build a 6×6 inner cavity, 4 bricks high. Stagger seams like you would with real bricks.
- Corners – Use 2×2 bricks on corners for better clutch; press test for wobble.
- Rim – Cap the top with tiles for a clean, hand-friendly edge.
- Extras – Drop a couple spare bricks inside as hidden ballast; add a 2×2 round tile “paperclip dish” on the base.
Style ideas
- Brickform stripe: one row of #DC143C around the middle; tiny #EFA607 badge tile on the front.
- Bookend variant: Double the height and connect two cups on a 8×16 plate to hold notebooks upright.
Get the sample photo build instructions here
Build 2: Phone Stand (adjustable angle)

Goal: A sturdy, non-slip stand that fits most phones with or without a case.
Suggested parts
- Base: 1 × 8×10 plate (stack two for rigidity)
- Lip: 2 × 1×4 bricks + 2 × 1×4 tiles
- Backrest: 1 pair hinge plates or a click hinge + plates to make a 6×8 panel
- Stoppers: 2 × 2×2 slopes (or inverted slopes)
- Optional: 4 rubber feet / a dab of poster putty
Steps
- Base – Stack two 8×10 plates; add feet/putty under corners.
- Lip – Build a 1-plate-high lip at the front with 1×4 bricks; cap with tiles. Leave a 2-stud center notch for a charging cable.
- Backrest – Create a 6×8 panel using plates/tiles; attach with hinge(s) so the angle can swing ~55–75°.
- Stoppers – Add slopes behind the panel to prevent over-tilt.
- Fit check – Test with your thickest case; ensure the charging port clears the lip.
Variants
- Recipe/Notes mode: Swap the front lip tiles for 1×2 round tiles so paper or index cards don’t snag.
- Landscape mode: Widen the base to 10×10 if you’ll watch videos more than take calls.
Get the sample photo build instructions here
Build 3: Cable Clip (click in tidy)

Goal: Keep your charging cable from leaping off the desk every time you unplug.
Suggested parts
- Base: 1 × 2×6 plate
- Posts: 2 × 1×2 bricks, topped with 1×1 round plates
- Guide: 1 × 1×4 arch (or two 1×2 arches)
- Cap: 1 × 1×4 tile
Steps
- Posts – Place two 1×2 bricks on the base, two studs apart; top with 1×1 rounds to create a soft “stud fence.”
- Guide – Bridge the gap with the arch; height should lightly pinch your cable jacket.
- Cap – Tile the top for smoothness; test with both USB-C and Lightning.
- Secure – If your desk is slippery, add a pea-sized dab of removable putty underneath.
2-cable version: Use a 2×8 base and mirror the channel so you can park two cords.
Get the sample photo build instructions here
Make It Look Like a Set (quick styling)
- Color story: Repeat one accent across all three builds - e.g., Crimson #DC143C rim on the cup, lip on the stand, and arch on the clip.
- Label tiles: Add 1×2 tiles labeled PENS, NOTES, CHARGER (vinyl sticker or printed).
- Tiny greenery: A 2×2 pot + leaf element instantly makes the desk feel intentional.
Care & Safety
- Wipe dust with a microfiber cloth; avoid resting hot mugs on tiled surfaces.
- For younger builders, skip glue, use larger elements and reinforce corners instead.
Wrap Up
Small builds, big order. A pen cup that doesn’t wobble, a phone stand that hits the right angle, and a cable clip that saves your sanity, three tidy upgrades that prove organization can be playful. If you build them, tag @Brickform so we can share your setup, and tell us which colorway you used.
0 comments