From photo → pixels → bricks.
Dot Day is a celebration of making your mark, perfect excuse to turn a favorite photo into LEGO-compatible pixel art. In this step-by-step guide, you’ll go from photo → pixels → bricks, with simple sizing math, color mapping tips, parts lists, and mounting ideas so your mosaic looks clean on a wall or shelf.
Check Out Brickform's Pixel Art Collection Here
![]()
Pick something with clear shapes and contrast (faces with directional light, bold pets, graphic objects). Busy backgrounds turn into noise when pixelated.
Quick checks
- Subject fills the frame (crop in tight).
- Strong light/dark separation (squint—does the silhouette read?).
- Avoid tiny high-detail patterns (small text, hair wisps).
![]()
One “pixel” = one stud. Plan size by where it will live.
Common sizes
- 24x24 (≈7.6" square) — quick, giftable.
- 32×32 (≈10.1" square) — sweet spot for portraits.
- 48×48 (≈15.2" square) — gallery-worthy.
- 64×64 (≈20.2" square) — showstopper.
Size math
- 1 stud = 8 mm ≈ 0.315 in
- Inches → studs:
studs = inches / 0.315(round to an even multiple like 16, 32, 48).
Match your crop to your stud grid (e.g., 4:5 for 32×40, square for 48×48).
![]()
You can do this with any editor that allows pixelation and palette reduction.
Basic workflow
- Crop to your final aspect ratio.
- Resize the image to your target studs (e.g., 48×48 pixels).
- Apply a slight contrast and saturation boost (pixels read better).
- Optional: use light dithering to smooth gradients; avoid heavy dithering on faces.
Pro tip: Duplicate the layer and keep a non-dithered version handy; sometimes flat blocks of color beat speckled textures.
![]()
Perfect matches don’t exist; you’re translating to the closest LEGO-compatible color palette you actually have.
Two easy strategies
- Tight palette (6–10 colors): cleaner, bold, faster to build.
- Broader palette (12–18 colors): softer gradients, more sourcing.
Skin tones & neutrals
- Start with tan/fleshtones, nougat, dark tan plus black/white/dark bluish gray.
- Reserve bright colors (#DC143C Crimson, #EFA607 Amber) for accents like lips, cheeks, or clothing—sparingly.
![]()
- 1×1 tiles = smooth, poster-like finish (great for close-up viewing).
- 1×1 plates = stud texture adds sparkle; easier to grip.
-
Baseplates:
- DOTS plates (16×16) are slim and modular.
- Classic baseplates are thin; build on a rigid backing to prevent bowing.
- Brick-built base (plates on plates) is strongest for big mosaics.
Counts rough-cut
- 32×32 uses 1,024 pixels; 48×48 uses 2,304; 64×64 uses 4,096.
- Order +5–10% extra of each color to account for swaps.
![]()
- Print or preview your pixel map with a visible grid.
- Sort colors into bowls; label with swatches.
- Start top-left, place row by row. Keep elbows off the field to avoid “tile surf.”
- Check every 8 rows by stepping back 2–3 meters—does the subject still read?
- Audit edges (jawlines, cheeks, object contours) for jaggies; gentle color swaps fix them.
Speed tip: Lay a line of the most dominant color in each row first, then fill gaps; it reduces color-switching fatigue.
![]()
- Frame shadowbox (depth ≥ 2 cm) so tiles don’t touch glass.
- Plate sandwich: bond your mosaic plate to a larger backing plate with bricks around the perimeter; hides flex.
- Wall mount: French cleat or 3M-style strips on a rigid backer; test on a small area first.
Brand accent: Add a Crimson #DC143C corner chip tile with the build date or initials.
![]()
- Muddy midtones: Reduce from 3 mid browns to 2; push one toward tan or gray.
- Washed whites: Introduce light bluish gray shadow pixels at cheek/edge highlights.
- Banding in skies: Use a 2-color dither (checker/sloped diagonal) between sky blues.
- Flat faces: Add a single EFA607 (Amber) pixel to the cheek or nose bridge for warmth.
![]()
Graphic poster (24×24, 8 colors): black, white, light b.gray, dark b.gray, tan, dark tan, crimson (#DC143C), amber (#EFA607).
Soft portrait (32×32, 12 colors): add nougat, reddish brown, medium blue, sand green.
![]()
- Lighting: soft side light; avoid hard overhead glare on tiles.
- Angle: 5–10° off-axis to catch subtle texture (especially with plates).
- Caption prompt: “From photo → pixels → bricks. What should we mosaic next?”
- Tag @Brickform and use #DotDay #LEGOcompatible #PixelArt.
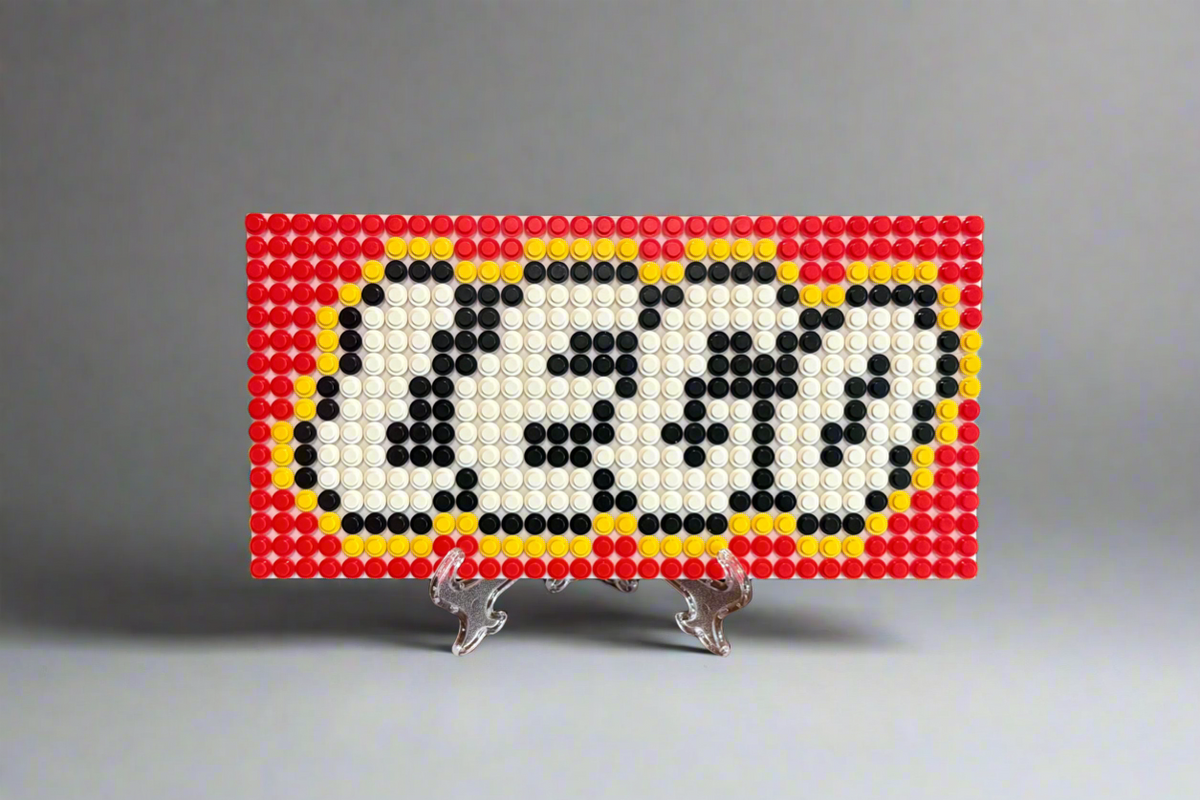
Finished Pixel Art Design:

Check Out Brickform's Pixel Art Collection Here
LEGO® is a trademark of the LEGO Group, which does not sponsor, authorize, or endorse this product.



0 comments